This post may include affiliate links. If you make a purchase through these links, we earn a nominal commission at no extra cost to you. This helps us maintain and grow our blog. We appreciate your support!
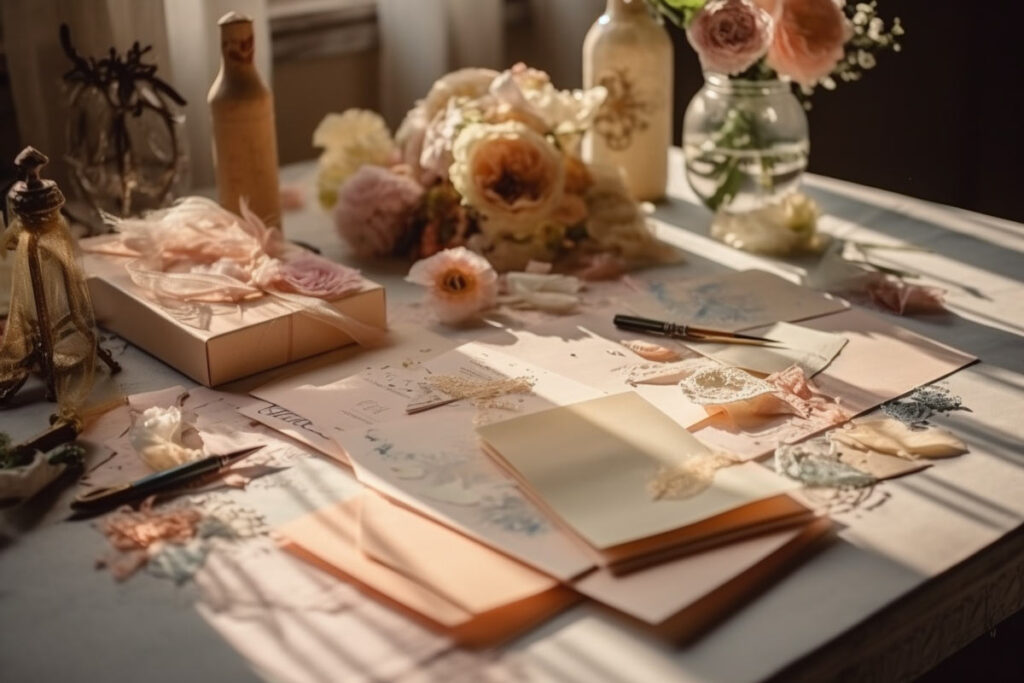
Creating your own DIY wedding invitations can be an exciting and cost-effective way to add a personal touch to your wedding. Not only does it provide a budget-friendly alternative to expensive stationery, but it also allows you to customize your invitations exactly the way you want. Here’s a step-by-step guide to help you create your own homemade wedding invites.
1. Calculate the Cost
While DIY wedding invitations are often more affordable than professionally-made ones, you’ll still need to factor in the cost of materials. Be sure to account for the cost of high-quality paper stock, ink, and other embellishments. Don’t forget to also factor in postage and envelopes.
2. Identify Your Style
Before you start designing, consider what style you want for your invitation. Do you prefer something simple and elegant, or something bold and colorful? Perhaps a watercolor motif would suit your wedding theme best. Take your time to explore different options before settling on a design.
3. Schedule and Plan Ahead
Creating your own invitations requires time and patience. Make sure to give yourself plenty of time to print and assemble your invitations. Ideally, you should aim to have your invitations ready to mail out eight weeks before your wedding date.
4. Choose Your Vendors
Online platforms like Minted, Shutterfly, and Zazzle offer a wide range of gorgeous invitation templates at affordable prices. You could also consider working with a graphic designer who can provide you with a semi-custom invitation design.
5. Plan Your Customization
Once you’ve chosen a design, you can start customizing it with your own personal information. Depending on the designer or platform you’re using, you might also have the option to change the fonts or colors of the design.
6. Find the Right Fit
To achieve a professional look, choose a design that “bleeds” to the edge of the paper. This means that the design extends slightly beyond the final cut size, and the excess is trimmed off, giving the illusion that the design reaches the very edge of the paper.
7. Pick Out Your Paper
Opt for high-quality paper stock or uncoated cardstock to give your invitations a luxurious feel. You can find a wide range of paper options at a stationery store or a print shop.
8. Consider File Types
Different printers and printing services may require different file types. Be sure to clarify this with your designer or printing service provider ahead of time to avoid any confusion.
9. Figure Out Your Ink Usage
Printing at home can consume a significant amount of ink, especially if your design includes large fields of color. To save on ink, consider a design with more white space and lighter colors.
10. Check Your Computer and Printer
Before you start printing, make sure your computer and printer are set up correctly. Adjust your printer settings as needed to achieve the best print quality.
11. Select Your Envelopes
Choose envelopes that fit your invitations and match your overall design. Don’t forget about envelopes for your RSVP cards. If you want to add a pop of color to your invitation suite, choose an envelope color that is light enough for the address to be visible.
12. Set Up for Easy Assembly
To achieve clean cuts for your invitations, use a paper cutter with a sharp blade. If you’re adding layers or envelope liners, use glue dots or double-stick tape instead of glue for a cleaner finish.
13. Head to the Post Office
Once you have an assembled invitation, take it to the post office to have it weighed. Remember that the shape of the envelope can also affect postage costs. If you’re considering hand-canceling to prevent any potential damage, let your postal worker know.
Wedding Ideas and Advice
DIY wedding invitations are a great way to express your personal style while also potentially saving money. By designing and printing your own invitations, you can create a semi-custom invitation suite that perfectly matches your wedding theme.
However, it’s important to remember that creating your own invitations requires careful planning and attention to detail. From printing tips to envelope selection, there are many factors to consider when undertaking this DIY project. But with a little patience and creativity, you can create beautiful, personalized invites that your guests will love.
Remember, the ultimate goal is to create an invitation that represents you and your partner, and the celebration you’re planning. So, whether you choose a simple and elegant design or a bold and colorful one, the most important thing is that your invitations feel authentic to you.
In conclusion, creating your own DIY wedding invitations can be a rewarding project that adds a personal touch to your wedding. With these tips and tricks in mind, you’re well on your way to creating beautiful, budget-friendly invites that you’ll be proud to send out.
And as you continue your wedding planning, don’t forget to check out our other articles for more wedding ideas and advice. Happy planning!


